This was a series of projects built over time, to transform a garden space consisting of a concrete apron, concrete paving slabs, and a rough grassed area into a garden.
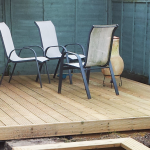
Despite the grassed area looking level, it needed about 10cm of earth removing to allow a 3.5m x 4m deck to be built at ground level. The earth was stored at the bottom of the garden, and would later be used to help fill the raised beds along with additional soil enhancer (compost)
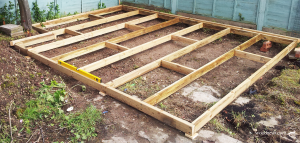
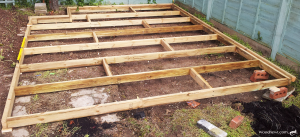
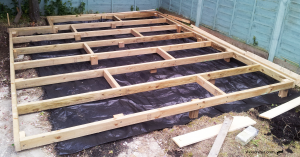
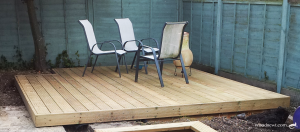
To maximise the size of the deck, it was built around the mature tree currently there. The deck frame is made with 50mm x 100mm treated joists spaced at 500mm centres, this is topped with 125mm x 30mm deck-boards.
Further to the deck, garden space was asked for, I could have simply taken some of the paving slabs up to allow the homeowner to cultivate the soil beneath, but to accommodate some planting in pots, I suggested raised beds to allow different heights to structure and display the plants and flowers, allowing pots to be placed in front of the beds also.
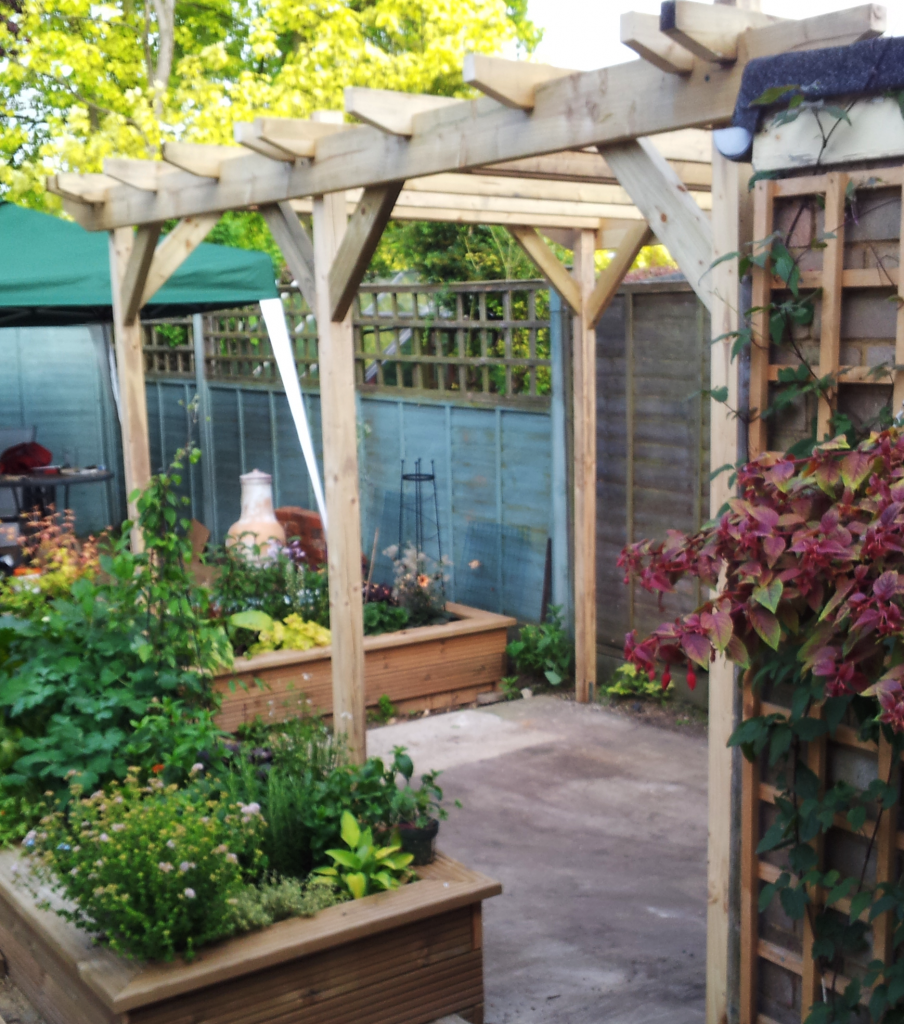
We discussed locations for their raised beds, height from the paved area, and a suitable width to allow comfortable gardening to to back of the beds. The beds were constructed from decking boards, and lined with black polythene to resist rot from moisture, and then to protect the polythene from cuts and tears from gardening tools, I used an additional lining of tough weed suppressant membrane over that.
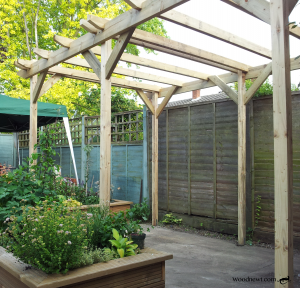
As well as low level planting, climbers were desired for higher level foliage and flowers, and to help the concrete apron to be shielded from general view. The apron would be useful for gardening tasks and the like, and therefore was nice to have this space available for occasional use.
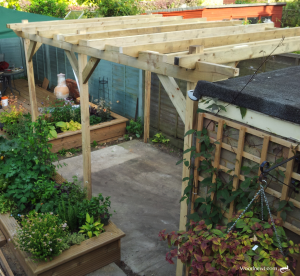
With a plan to have a raised bed installed on the two available edges of the apron, having a structure to support climbers from both of those beds seemed a good idea. I suggested a pergola. A pergola is a garden feature forming a shaded walkway, passageway, or sitting area of vertical posts or pillars that usually support cross-beams and a sturdy open lattice, often upon which woody vines can be trained. I designed and manufactured this to specifically fit the apron.
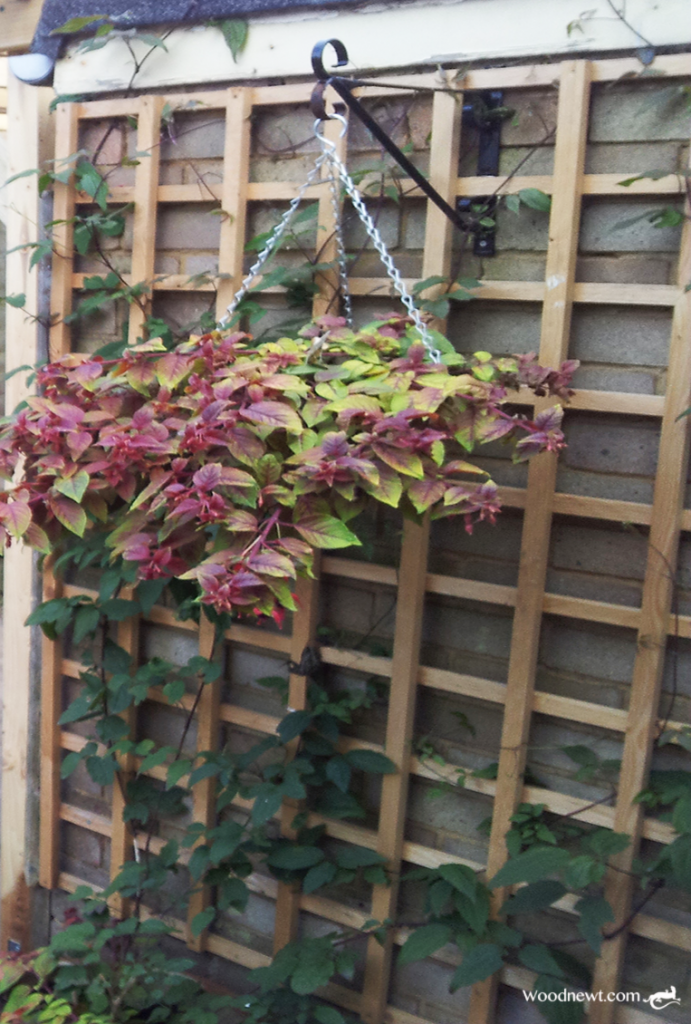
Having two brick walls as available space for climbers, led to the suggestion of trellis being made and fitted. The trellis was chunky and long lasting made from 1” x 1” treated timber.
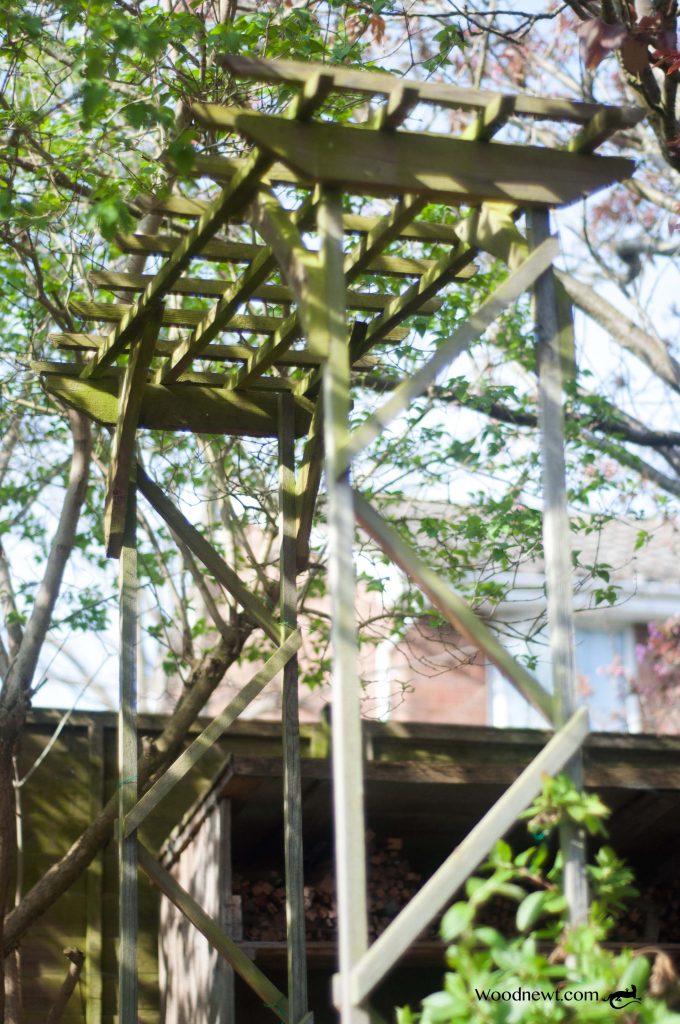
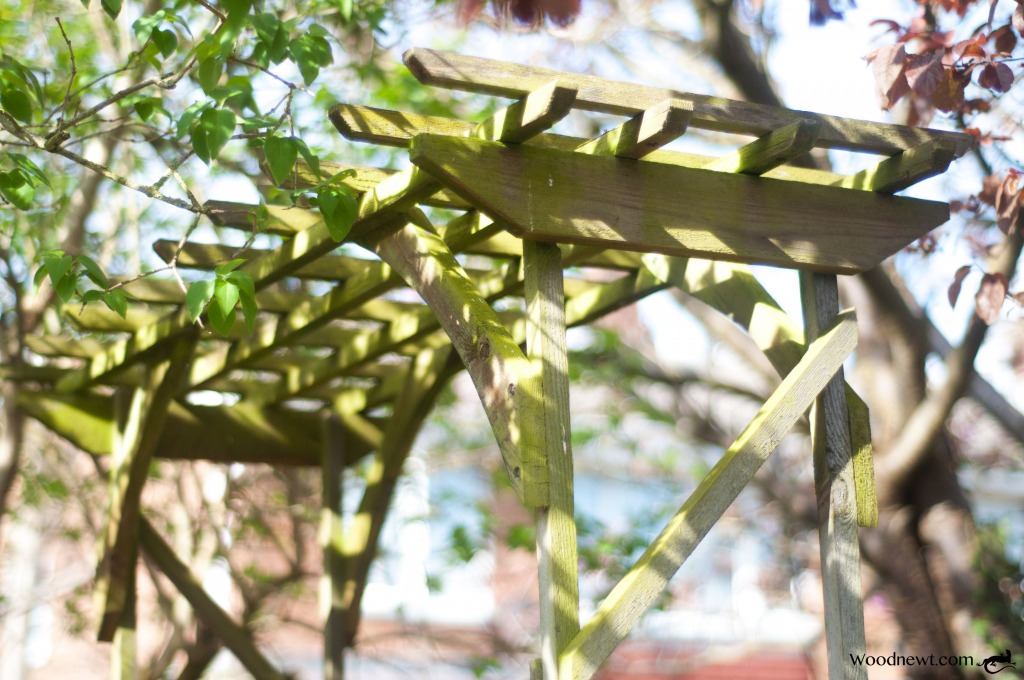
The rose arch was designed with a delicate feel to it, as it is located in a shaded area beneath trees, it is made from pallet wood, and with diagonal bracings for strength.
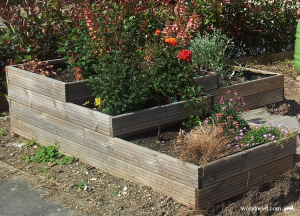
The front garden was being remodelled to include a parking bay, and several options were discussed. A set of tiered raised beds were designed in an ‘L’ shape and built for the available location beside the pavement and adjoining the neighbours boundary.
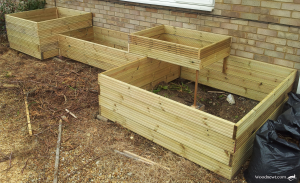
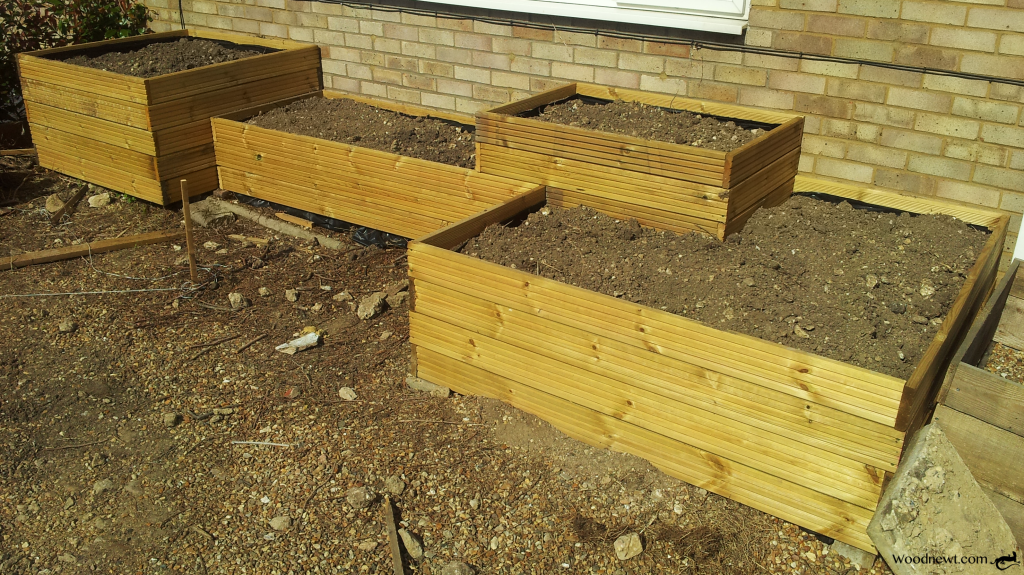
For in-front of the house, beds tiered with differing box sizes were made. Like the beds at the rear of the house, these were built using deck-boards and lined with both black polythene and the weed suppressant membrane.
I also made an additional two trellis for either side of the front facing window.
This scope now available for planting and growing in these spaces is awesome. Then to sit on the deck to enjoy their garden in all its splendour must be lovely.
