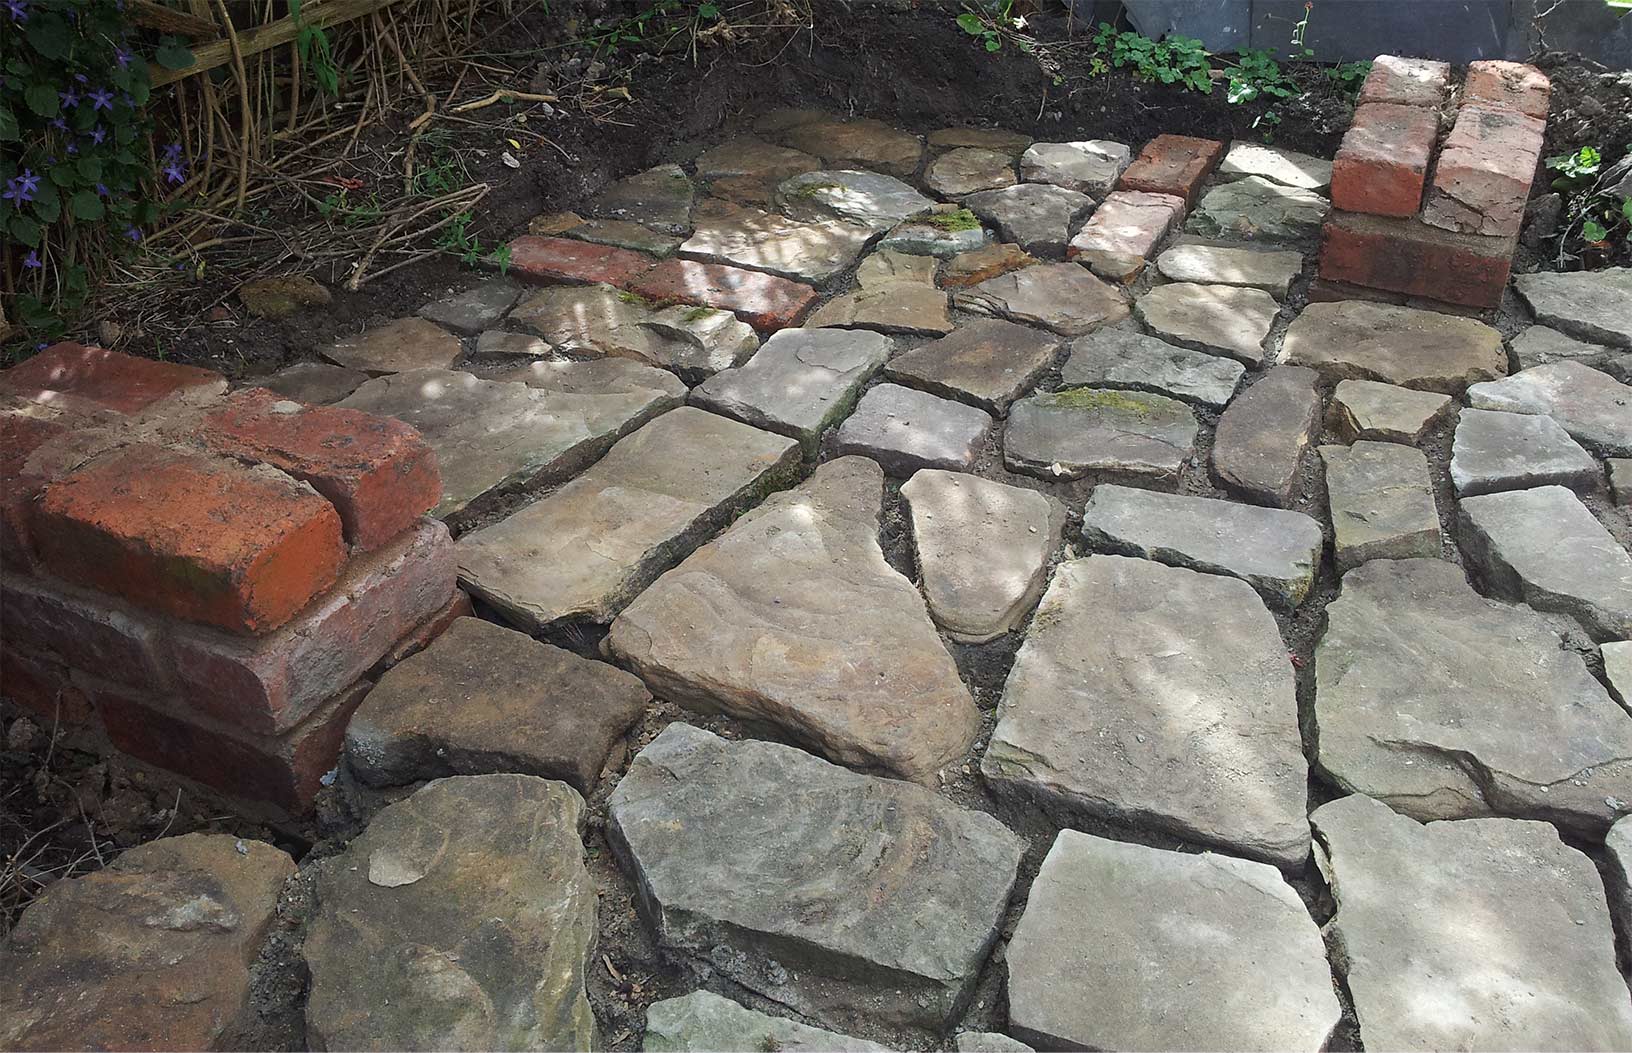

Planning the patio
The patio was laid with reclaimed sandstone from a dry stone wall. laying out the stone selection on pallets allowed easier selection of each stone shape and size to be laid. Mortar was mixed by hand on a ‘builders spot’ allowing a few stones to be laid and then giving time to plan the next set to be laid.
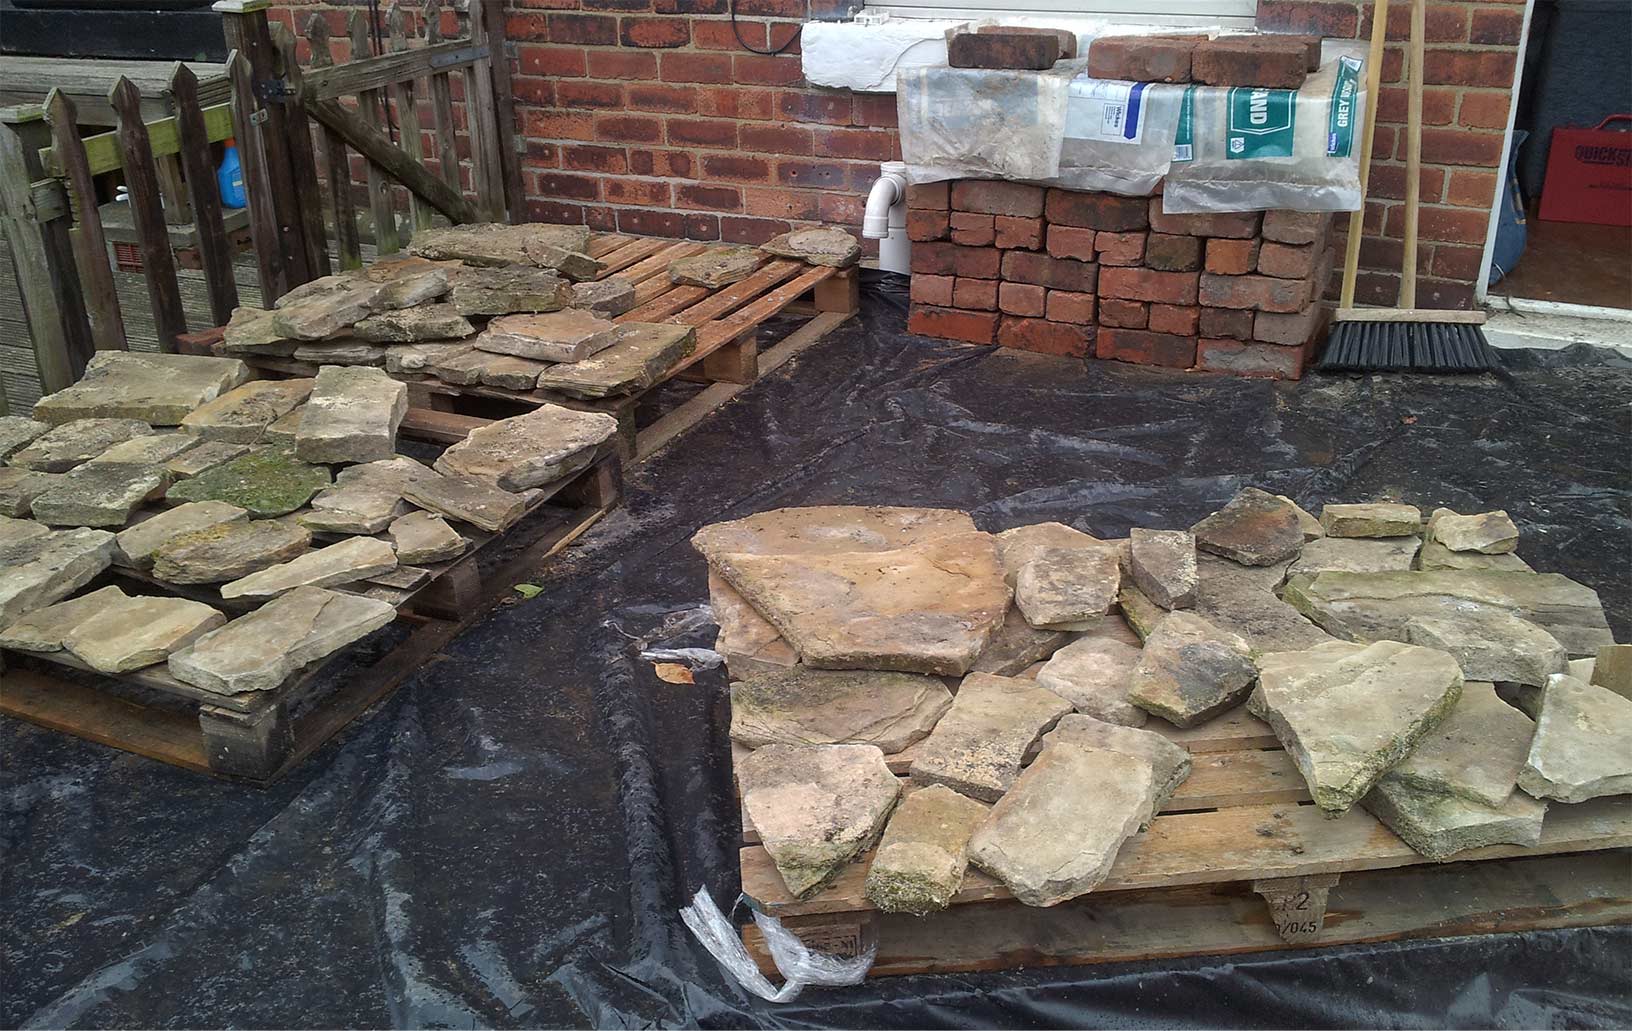
Patio Build Method
Differing thicknesses and shapes of the pavers meant that the sharp sand mortar bed that the stones would be laid on varies from about 50mm to 75mm. There was a slight downward slope of about 40mm away from the Brick BBQ area. As the patio was laid level, We therefore ensured an adequate depth of the mortar base as the laying progressed.

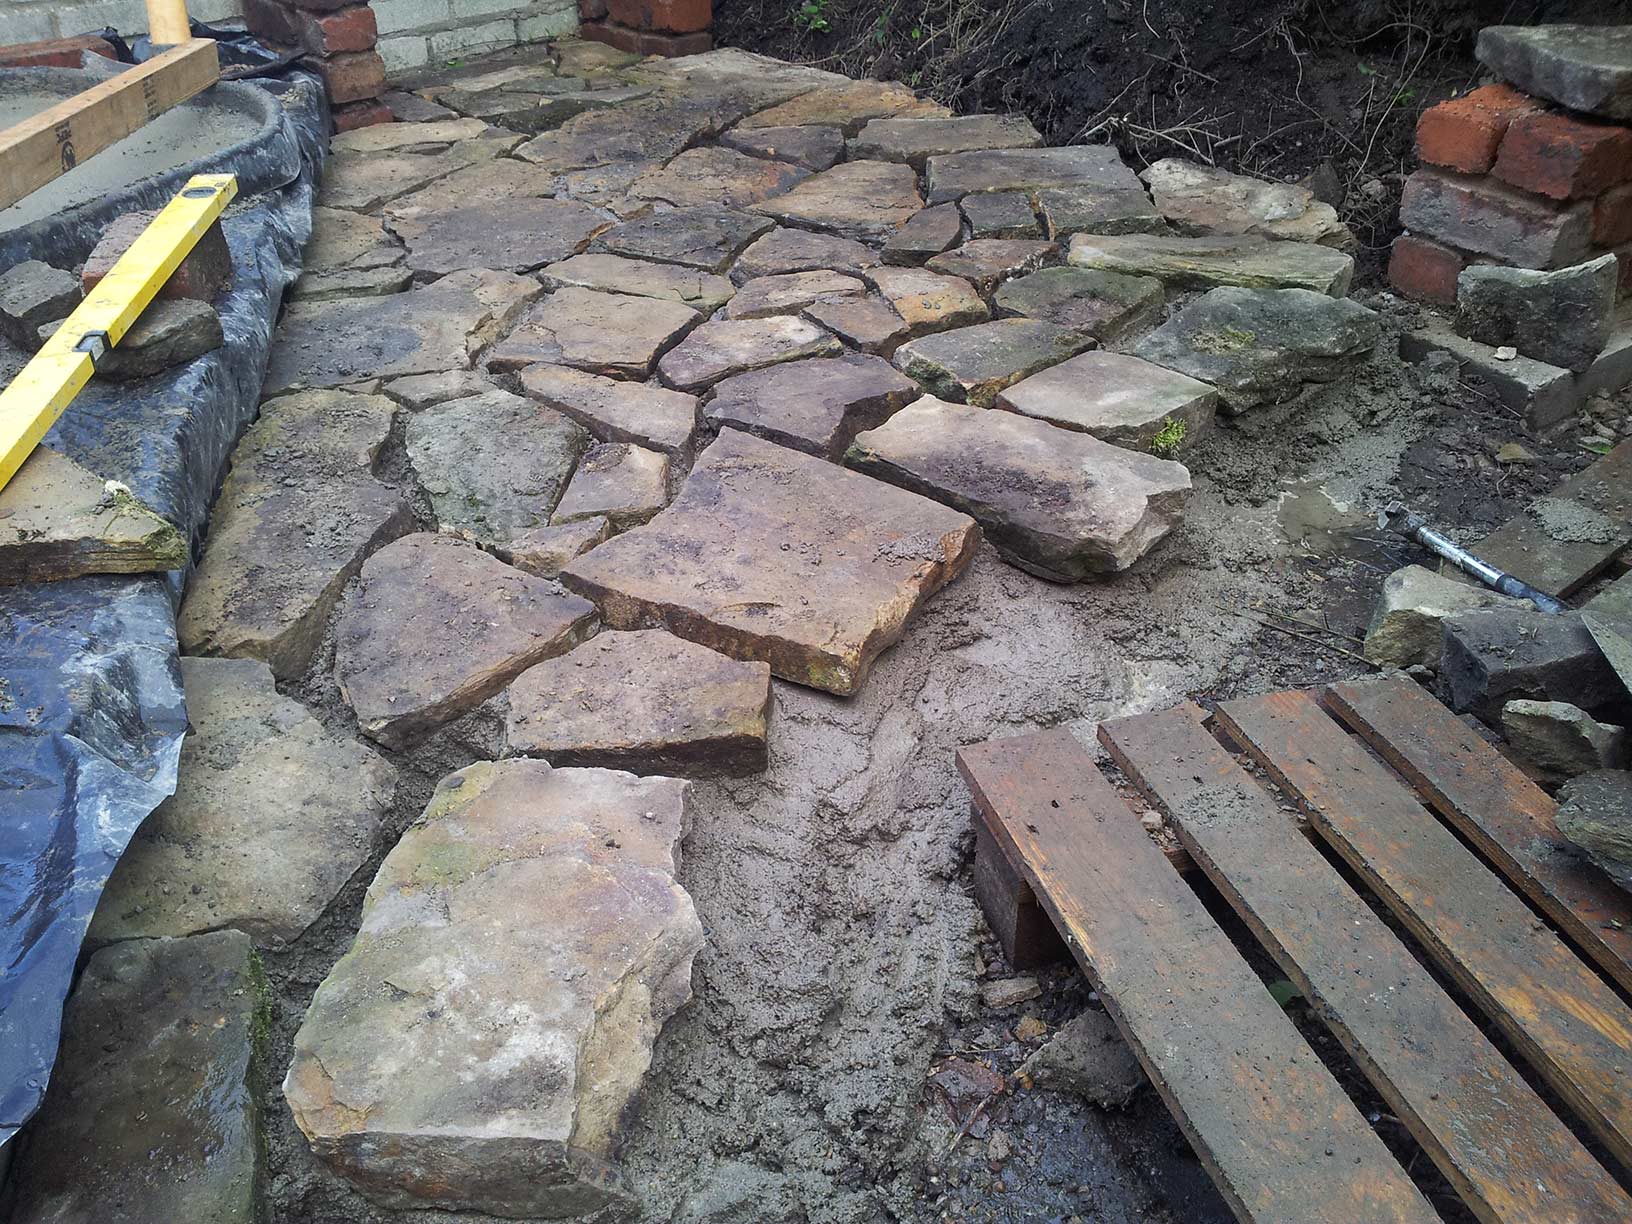
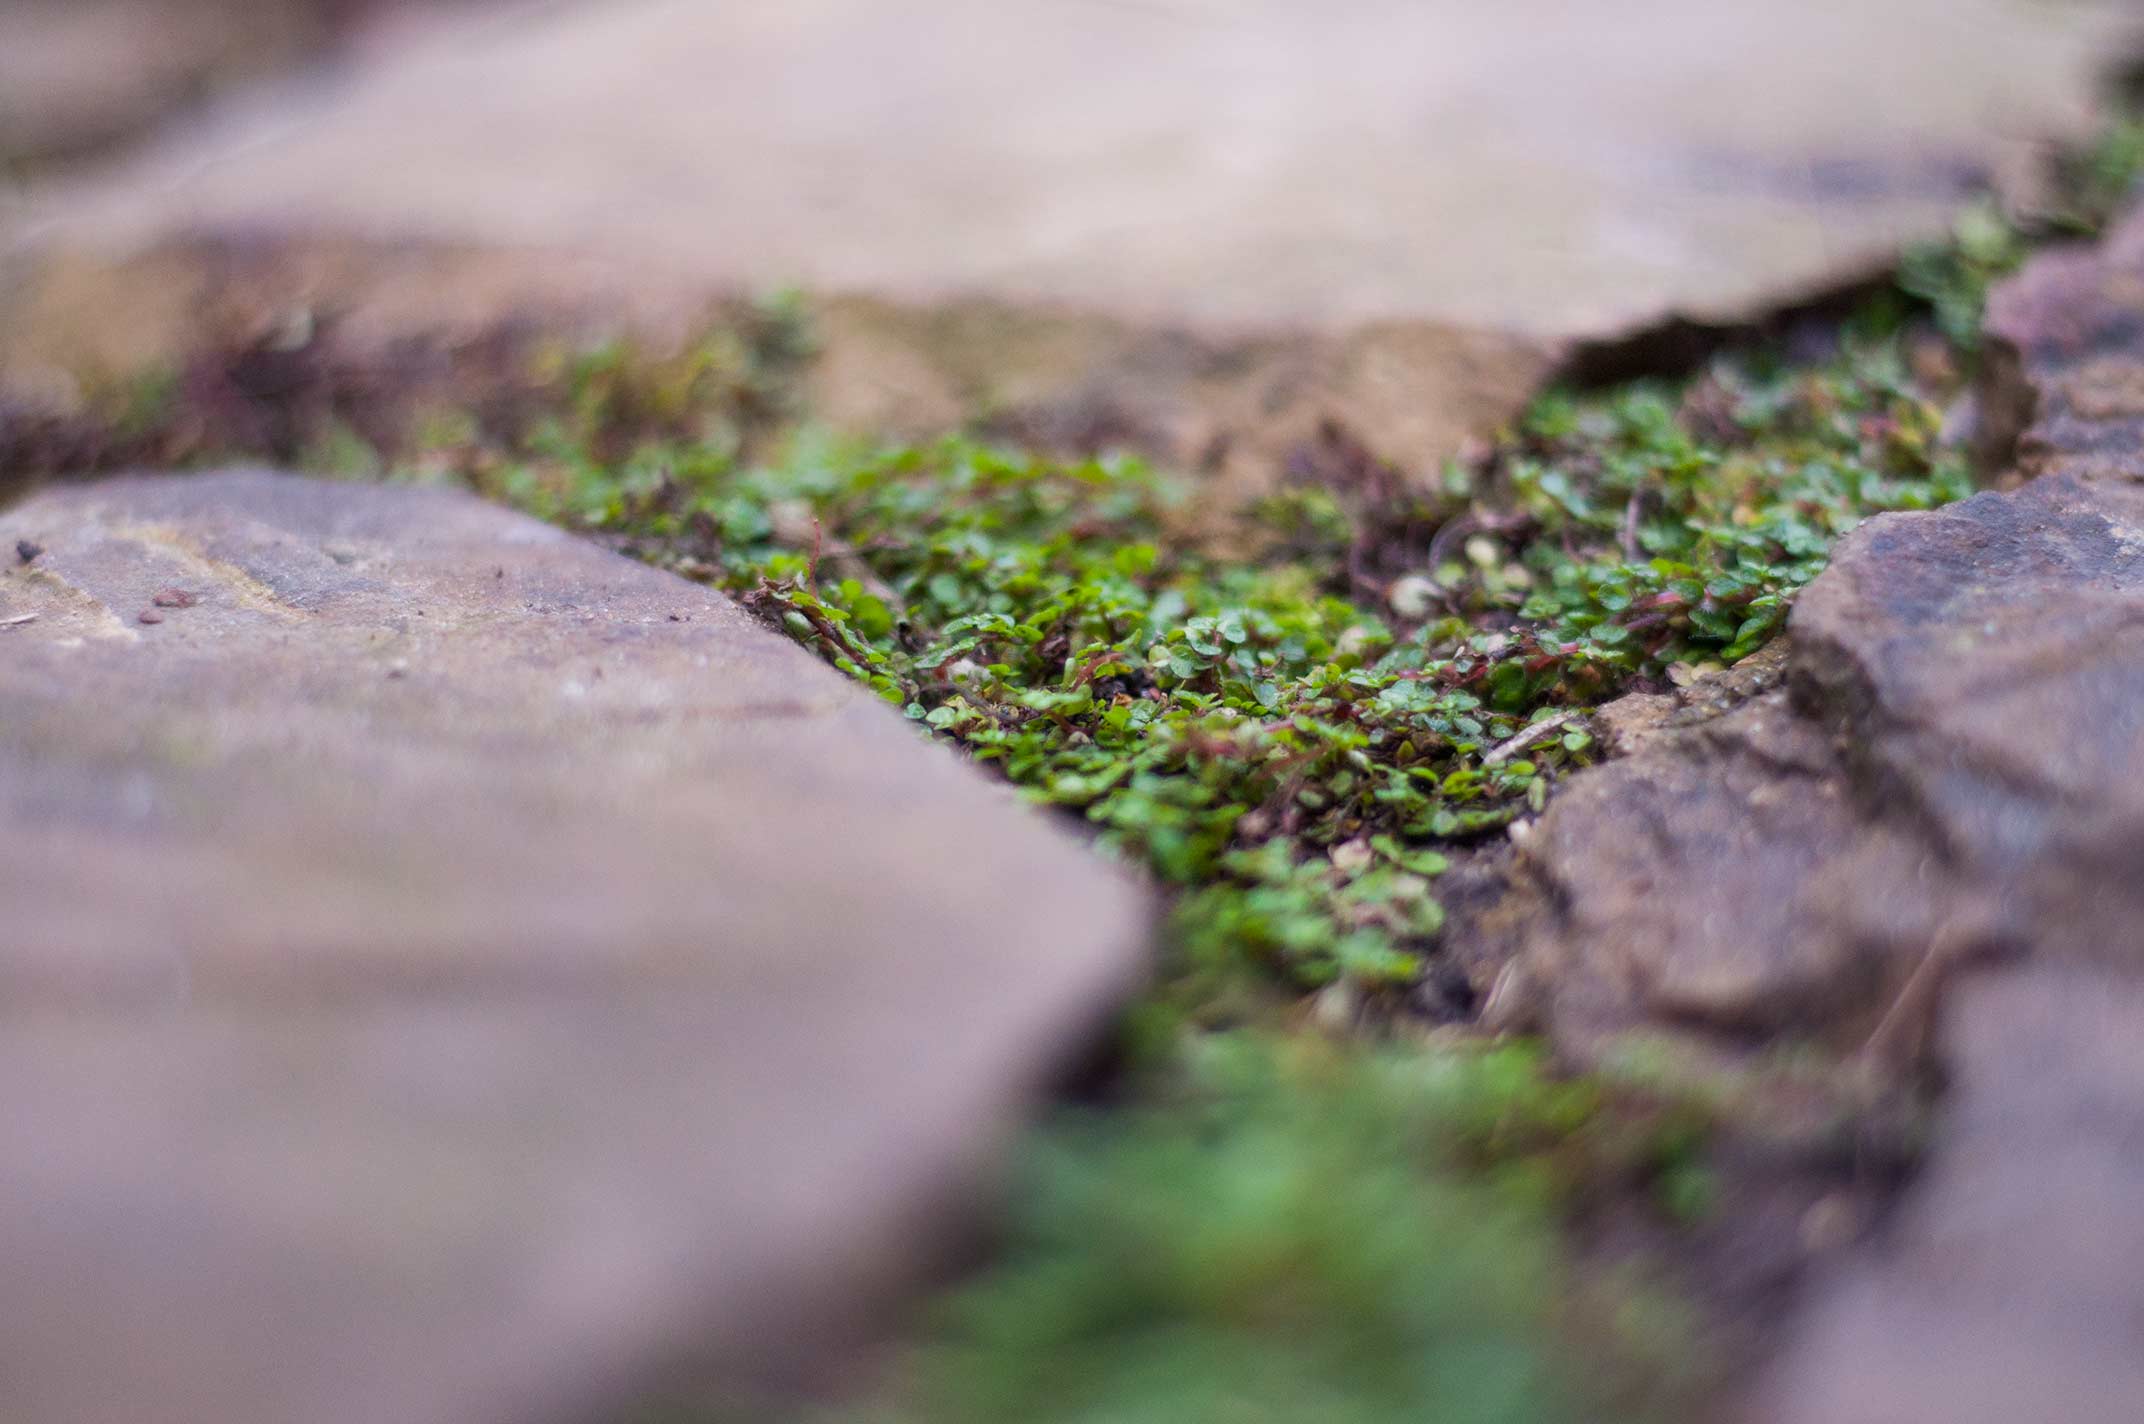
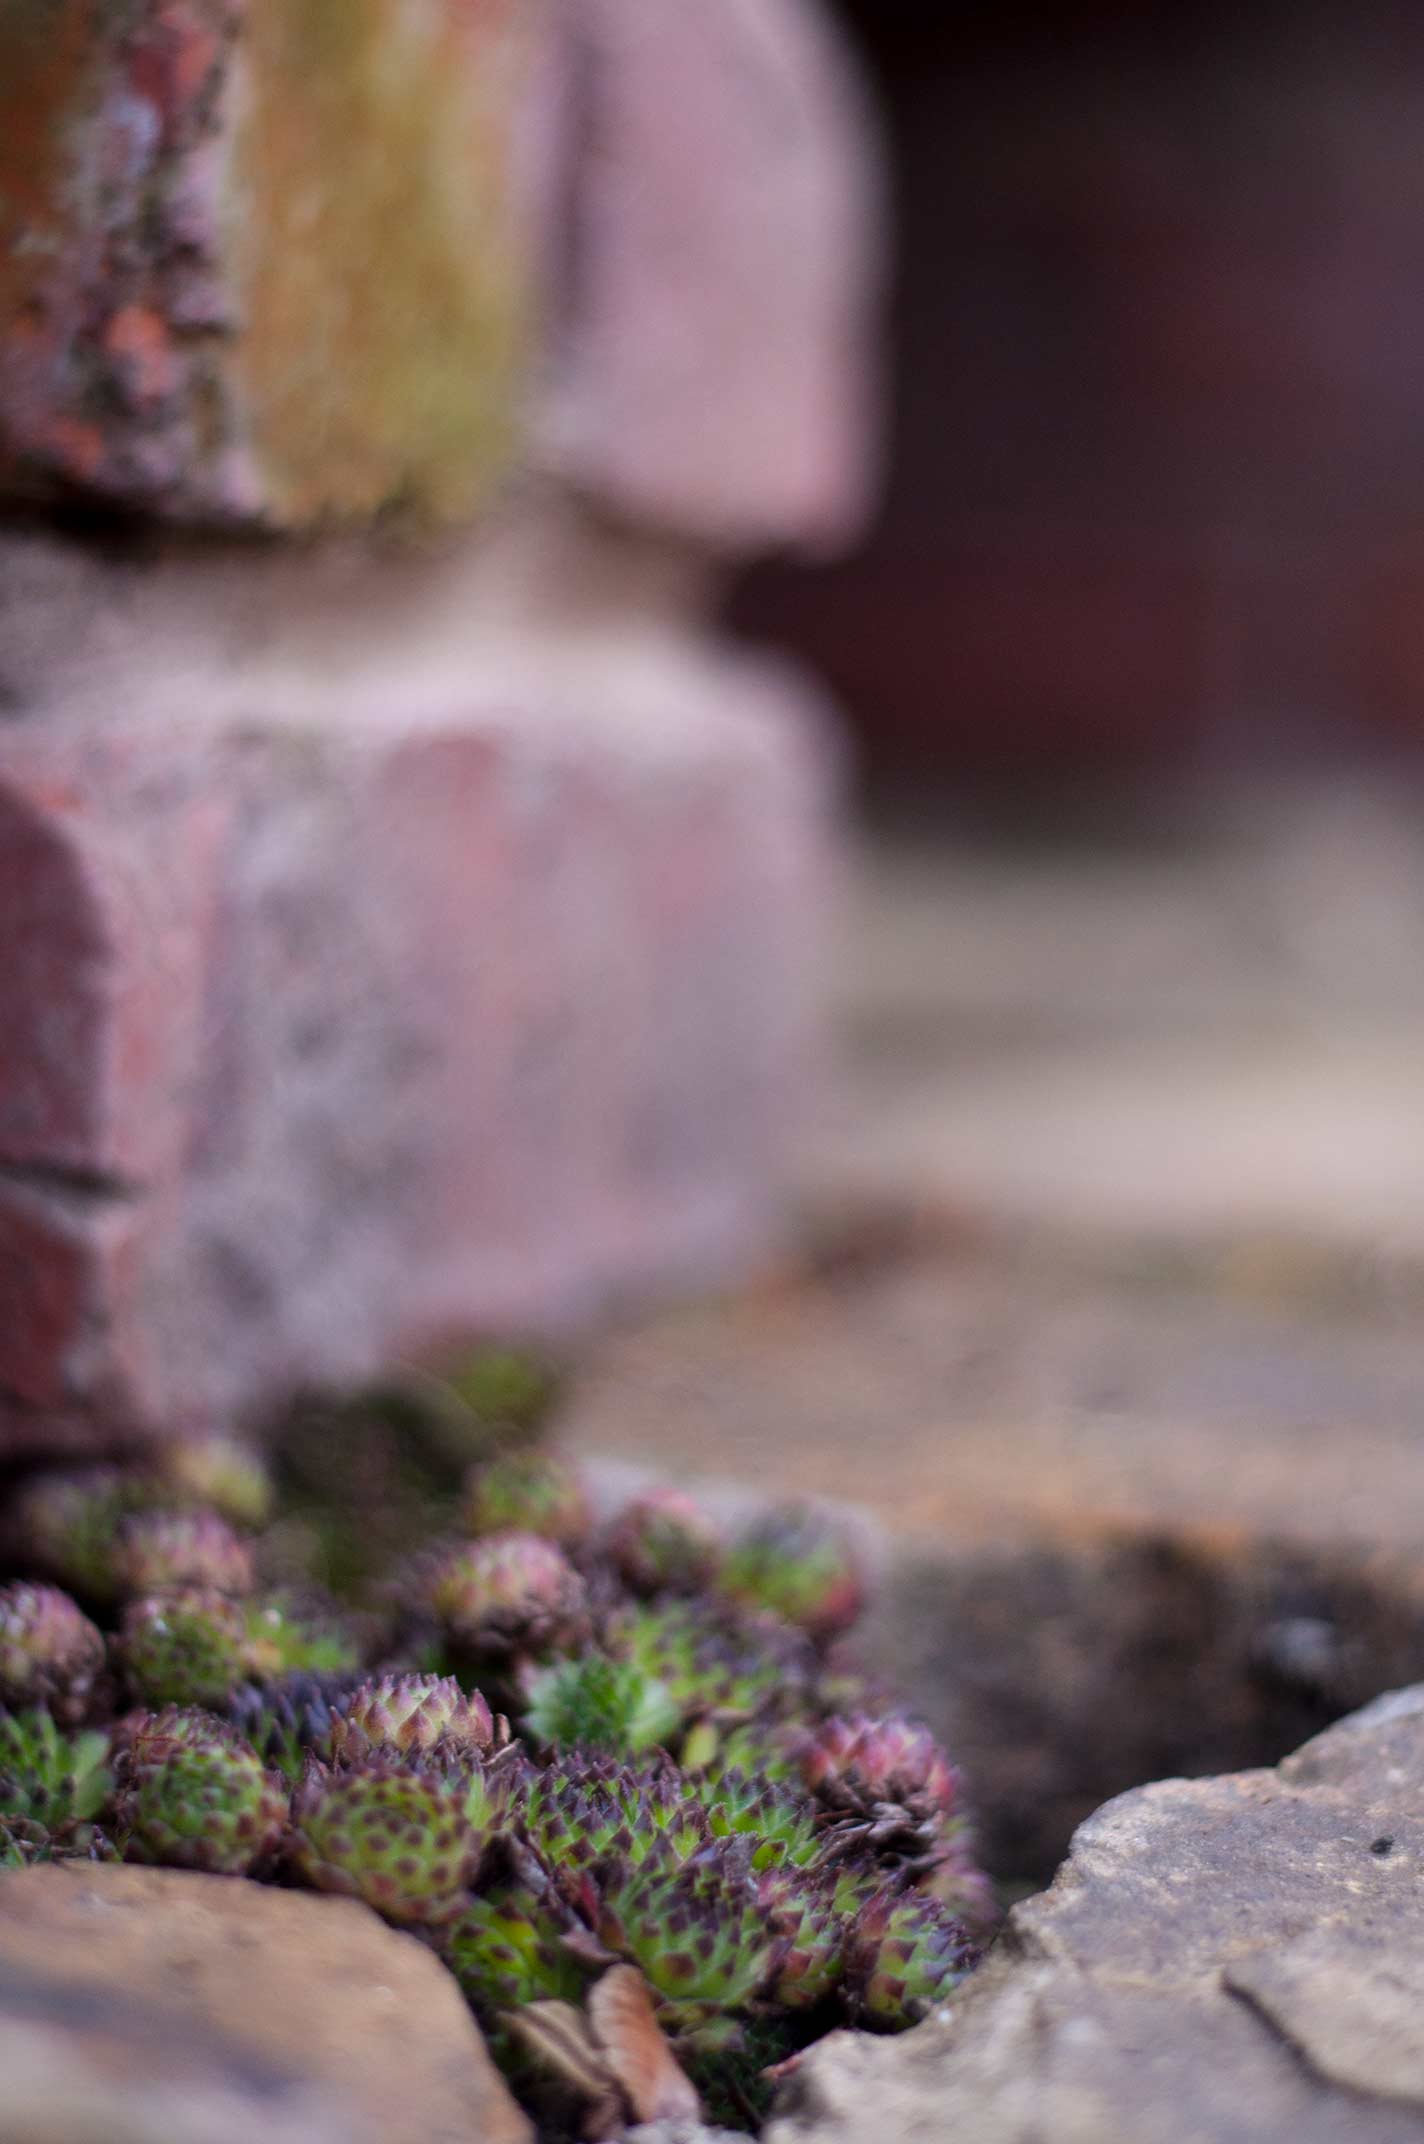
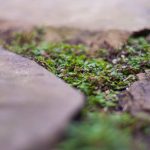
The gaps between the stones have been set to accommodate moss, alpines and sedum to grow in, to give an aged cottage garden feel to the patio. Drainage between some pavers ensures rainwater evacuation